Night Sky
Short
A night sky made of optical fibers and LED lights.
Long
After a couple of friends of mine made their own night skies I also wanted to make one. I made it as a standalone box like thing and then mounted the whole thing in the ceiling above the bed. That way it can later be removed and moved pretty easily. It was also easier to work with down on the floor than up in the ceiling. The stars are one ends of optical fibers and the other ends are grouped together and placed in front of a light source. The night sky also features a pair of speakers and some spotlights.
To begin with I needed a map of the night sky. I found one on a website were you could configure what part of the sky you where looking at, what star density you wanted and then it generated a map. Unfortunately it went down but when I made a second, smaller night sky I used some pretty simple maps from a university website and it also turned out just fine.
Next step was to build the frame and attach the chipboard that was the foundation of the sky. After making the holes for speakers and spotlights it was time for drilling the holes for the stars. I settled for 400 stars as a nice trade off between time invested and aestethic satisfaction. I used a hand held rotary tool and a 1mm drill. After drilling I put the fibers in place and glued them. The superglue I found for this project was actually really superior. It comes with an activator, hardens in a few seconds and the result is surprisingly strong. I grouped the fibers together to keep some order and made three chunks. The three chunks all come out on the short end of the frame together with the speaker and spotlight cables. This wasn’t that tedious work but the fibers are quite easy to break. I used 0.75mm fiber (found on ebay) and I broke maybe 10% of the stars. After a while the backside of the night sky looked like this
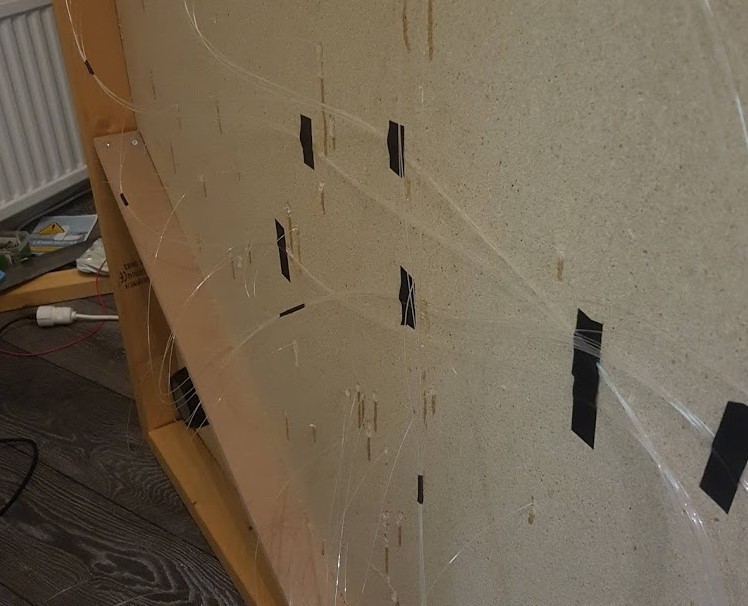
I left ca 10mm of each fiber sticking out the front side. Then I painted the front with a roller and black paint. After the paint dried I used a side cutter to cut of the tip of each fiber, exposing the fiber end from where the light would be emitted. It was now ready to be mounted in the ceiling.
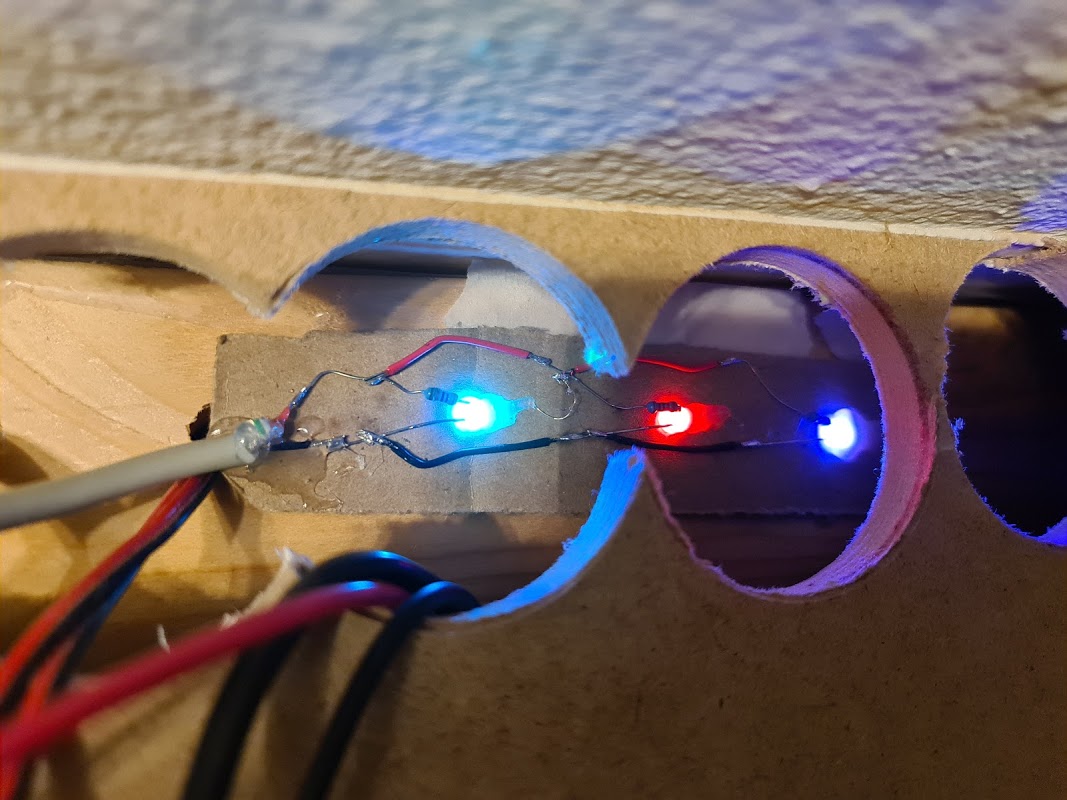
The final part was to fix the light source. I had grouped the fibers into three randomly distributed groups of stars, so I had the possibility to control each group individually. The original plan was to use some microcontroller and addressable RGB LEDs, but then recently I came across a fantastic little device! It looks like an ordinary 5mm LED but it is actually RGB and it comes pre programmed to fade between random colors. So the light controller turned out extremely simple. It consists of three sets of one of those fading LEDs and a series resistor. I actually just glued it to a piece of cardboard and then glued it to the night sky. The light controller looks like this, and below the end result
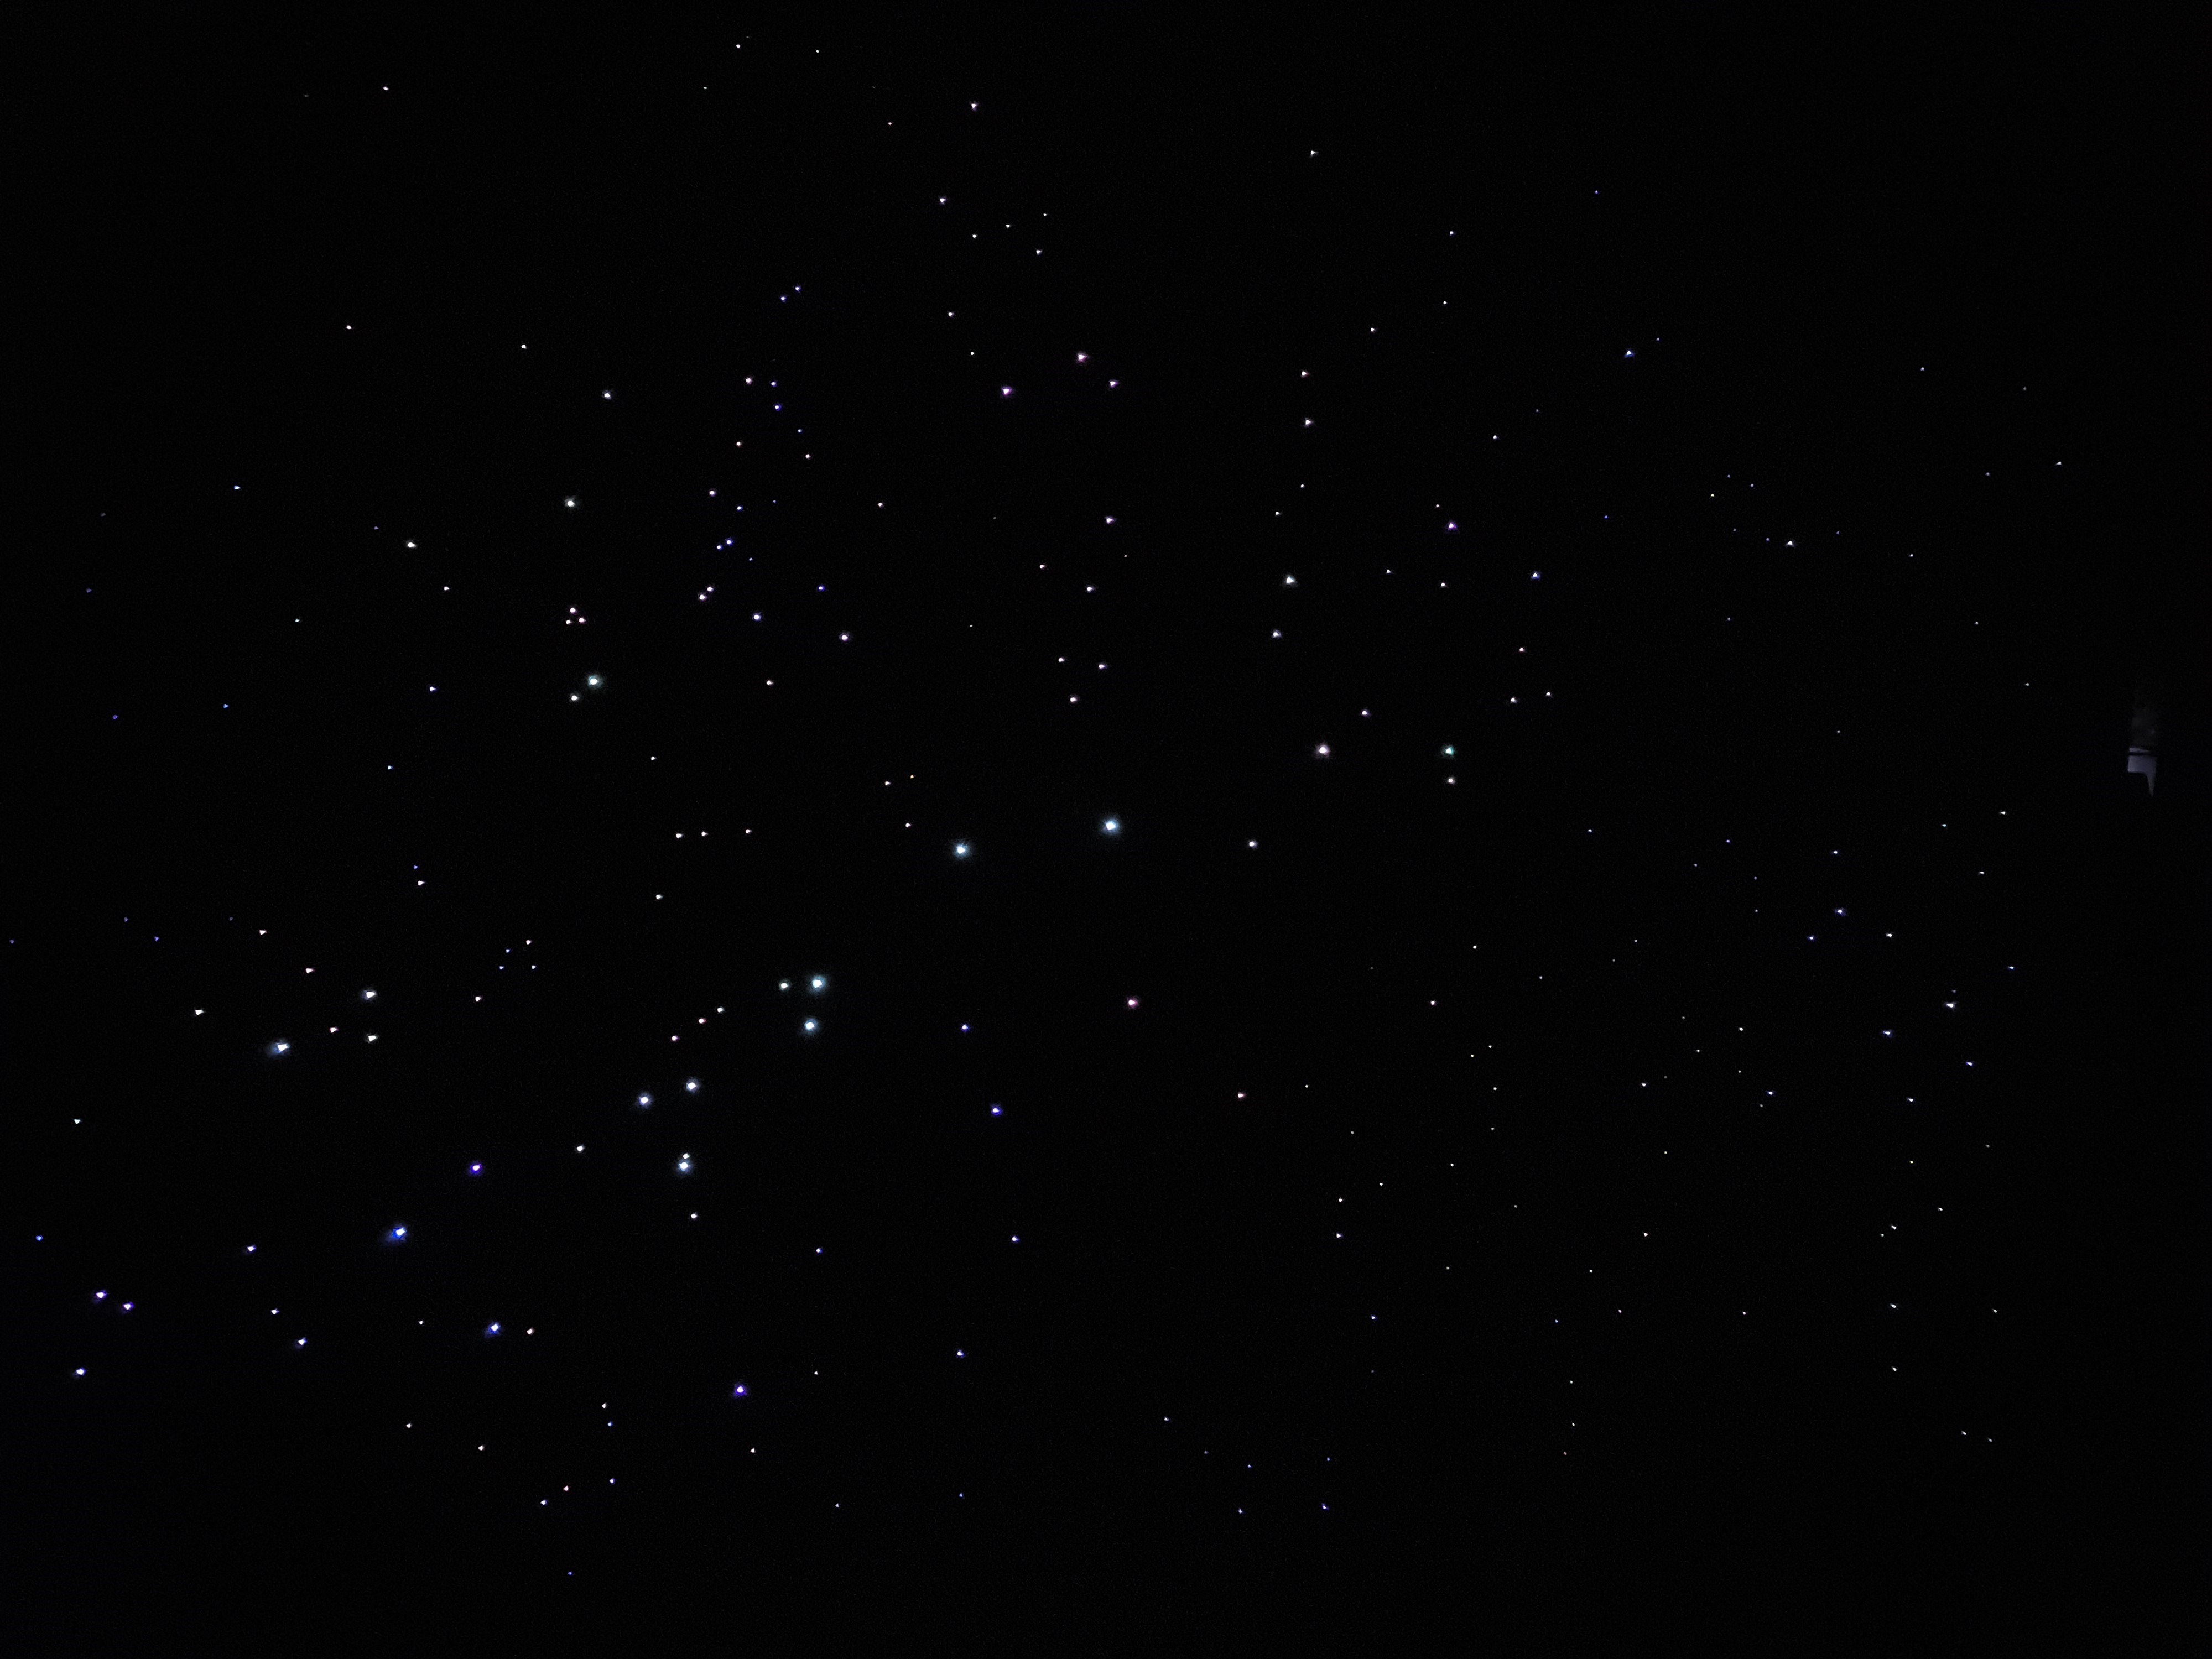
Well, in the end I think it turned out really nice, but at some point before it was finished I should have realized that I don’t wear my glasses to bed :)
Links
Night sky maps
https://www.chalmers.se/…
Rotary tool
https://www.proxxon.com/…
Super Glue
https://www.biltema.se/…
Fading RGB LED
https://www.kjell.com/…